When you transfer important files, how do you know they arrived intact? Files can become corrupted during transfer, storage media can have errors, and in adversarial situations, files could be deliberately modified. This guide covers how to verify that files are exactly as they should be.
Why Verify File Integrity?
File integrity verification is important for:
- Large files – More prone to transfer errors
- Critical files – Where corruption would be serious (software, archives, masters)
- Security-sensitive transfers – Ensuring no tampering occurred
- Legal/evidence files – Proving files weren't modified
- Archival – Verifying backup integrity
How File Corruption Happens
- Network errors – Packet loss or corruption during transfer
- Storage errors – Hard drive bad sectors, memory errors
- Software bugs – Errors in transfer or storage software
- Incomplete transfers – Interrupted uploads/downloads
- Intentional modification – Tampering by malicious parties
Understanding Checksums and Hashes
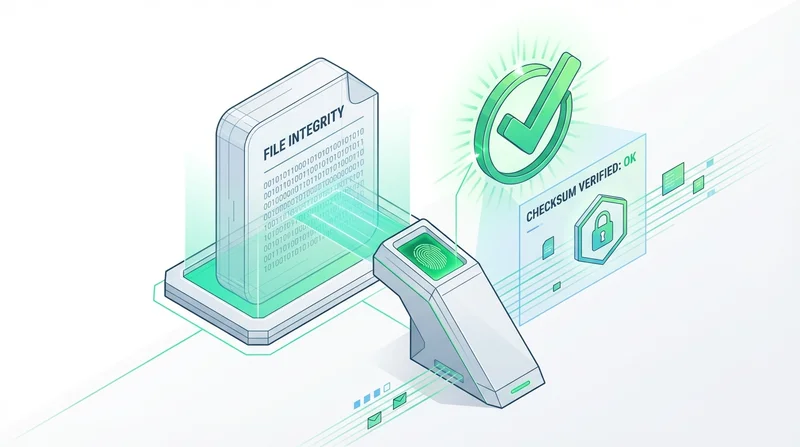
The primary method for verifying file integrity is using cryptographic hash functions.
What Is a Hash?
A hash function takes any file and produces a fixed-length "fingerprint" (hash value). The key properties:
- Deterministic – Same file always produces same hash
- Unique – Different files produce different hashes
- One-way – Can't recreate file from hash
- Sensitive – Any change to file changes the hash completely
Common Hash Algorithms
| Algorithm | Length | Security | Use |
|---|---|---|---|
| MD5 | 32 characters | Weak (broken) | Legacy only, not recommended |
| SHA-1 | 40 characters | Weak | Legacy, being phased out |
| SHA-256 | 64 characters | Strong | Recommended for most uses |
| SHA-512 | 128 characters | Strong | Higher security requirements |
Recommendation: Use SHA-256 for file integrity verification.
How to Verify Files: Step by Step
Step 1: Generate Hash of Original File
On Windows (PowerShell):
Get-FileHash -Algorithm SHA256 yourfile.zip
On Mac/Linux (Terminal):
shasum -a 256 yourfile.zip
This produces a hash like: e3b0c44298fc1c149afbf4c8996fb92427ae41e4649b934ca495991b7852b855
Step 2: Share the Hash Alongside the File
When sharing the file, provide the hash value. You can:
- Include it in your message
- Add a .sha256 file alongside the original
- Include it in a README
Step 3: Recipient Verifies the Hash
After downloading, the recipient runs the same hash command on their downloaded file and compares the result.
If hashes match: File is identical to the original
If hashes don't match: File is corrupted or modified
Tools for Hash Verification
Built-in OS Tools
Windows, Mac, and Linux all have built-in commands (shown above).
GUI Tools
- 7-Zip – Right-click file → CRC SHA → SHA-256
- HashCheck (Windows) – Adds hash verification to file properties
- QuickHash – Cross-platform GUI tool
Online Tools
For small files, online hash calculators exist, but uploading files to unknown sites has privacy implications.
Verification in Different Scenarios
Scenario: Sharing Large Video Files
When sharing large video files that take hours to transfer:
- Generate SHA-256 hash before upload
- Include hash in your message to recipient
- Recipient verifies after download
- If mismatch, re-download rather than using corrupted file
Scenario: Software Distribution
When distributing software or installers:
- Publish hashes on your website (preferably signed)
- Users verify downloads match published hashes
- Protects against both corruption and tampering
Scenario: Legal Document Delivery
When file integrity is legally important:
- Generate and document hash at time of creation
- Provide hash to all parties
- Hash serves as proof file wasn't modified
- Consider timestamping for additional proof
Automated Verification
Creating Hash Files
For multiple files, create a hash file:
shasum -a 256 * > checksums.sha256
This creates a file listing hashes for all files in the directory.
Verifying with Hash Files
shasum -a 256 -c checksums.sha256
This checks all files against their recorded hashes.
When Verification Fails
If hashes don't match:
- Try downloading again – Most common cause is incomplete download
- Check for obvious issues – File size significantly different?
- Try different download method – Browser vs. download manager
- Contact sender – Maybe original was updated
- Verify hash is correct – Did you copy it correctly?
GetShared and File Integrity
GetShared ensures file integrity through:
- Checksums on upload – Files are verified during upload
- Redundant storage – Multiple copies protect against storage errors
- Download verification – Integrity checked on download
For additional assurance on critical files, you can still share your own hash values separately.
Best Practices
- Use SHA-256 – Avoid MD5 and SHA-1
- Verify critical files – Don't skip verification for important transfers
- Store hashes separately – If someone can modify your file, they can modify co-located hashes
- Automate when possible – Create hash files for archives
- Document for compliance – Keep records of verification for audit purposes
Conclusion
File integrity verification is a simple but powerful technique for ensuring files arrive as intended. For critical transfers:
- Generate hash of original file
- Share hash alongside file (or via separate channel)
- Recipient verifies after download
This takes only seconds but provides certainty that files are identical to the originals. Combined with GetShared's secure transfer and storage, you can be confident your files arrive intact. Try GetShared free for reliable file transfers.